How to Set Timer Light Switch
In an era where smart home technology is becoming increasingly prevalent, timer light switches offer a convenient, energy - efficient, and secure solution for managing your home lighting. Whether you want to create the illusion of occupancy while on vacation, automate your morning and evening lighting routines, or reduce energy consumption, learning how to set a timer light switch is a valuable skill. This comprehensive guide will walk you through the entire process, from the necessary tools and materials to the step - by - step instructions for installation and configuration.
Benefits of Using Timer Light Switches
Before delving into the setup process, it's important to understand the numerous benefits that timer light switches bring. Firstly, they enhance home security. By programming lights to turn on and off at random intervals, you can deter potential burglars who might target unoccupied homes. Secondly, timer light switches contribute significantly to energy savings. Instead of leaving lights on for extended periods when not in use, you can schedule them to illuminate only when needed, reducing your electricity bill. Additionally, they offer convenience, allowing you to wake up to a well - lit home in the morning or return to a lit house in the evening without having to manually flip a switch.
Tools and Materials Required
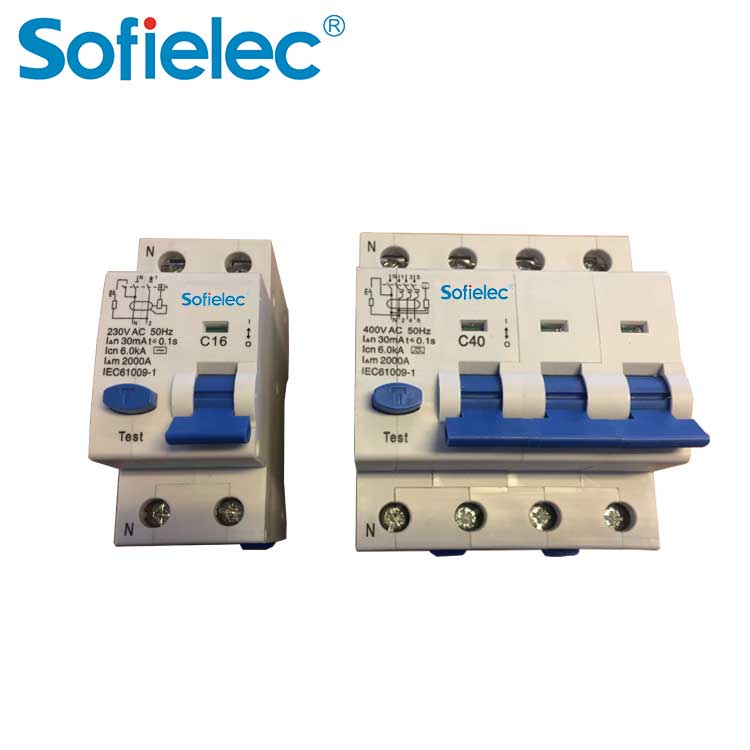
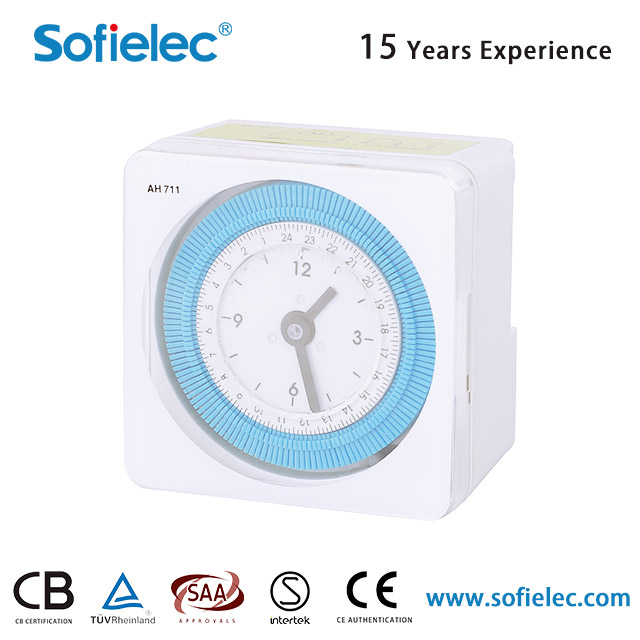
To set up a timer light switch, you'll need a few essential tools and materials. First and foremost, you'll need the timer light switch itself. There are various types available, including mechanical timers with rotating dials, digital timers with LCD displays, and smart timers that can be controlled via a smartphone app or voice commands. Choose a timer that suits your needs and preferences.
In addition to the timer switch, you'll need a screwdriver, preferably both a flat - head and a Phillips - head, to remove and install the switch plate and access the electrical connections. A voltage tester is also crucial to ensure that the power is off before you start working on the electrical components, preventing the risk of electric shock. You may also need electrical tape to secure any loose wires and wire nuts to connect the wires properly.
Step - by - Step Installation Process
Step 1: Turn Off the Power
Safety should always be your top priority when working with electrical components. Locate the circuit breaker panel in your home and identify the circuit that controls the light fixture you want to connect the timer switch to. Turn off the corresponding circuit breaker to cut off the power supply to the light switch. Use a voltage tester to double - check that there is no electricity flowing to the switch by touching the tester probes to the screw terminals on the existing switch. If the tester does not light up, it is safe to proceed.
Step 2: Remove the Existing Light Switch
Use a screwdriver to remove the screws holding the switch plate in place. Gently pull off the switch plate and set it aside. Next, remove the screws that secure the existing light switch to the electrical box. Carefully pull the switch out of the box, being mindful not to damage the wires connected to it. Take note of how the wires are connected to the switch, as you will need to replicate this connection with the timer switch.
Step 3: Connect the Timer Light Switch
Examine the timer light switch and identify the terminal screws for the hot wire, neutral wire, and ground wire. The hot wire is usually black or red and carries the electrical current from the power source to the light fixture. The neutral wire is typically white and provides a return path for the current. The ground wire, usually green or bare copper, is for safety and helps protect against electrical shocks.
Connect the hot wire from the electrical box to the appropriate terminal on the timer switch, usually labeled “Line” or “Hot.” Connect the wire that leads to the light fixture to the terminal labeled “Load.” Connect the neutral wire to the terminal marked “Neutral,” and attach the ground wire to the grounding terminal, which is usually a green - colored screw. Use wire nuts to secure the connections tightly and wrap any exposed wire ends with electrical tape for added safety.
Step 4: Mount the Timer Switch
Once the wires are connected, carefully push the timer switch back into the electrical box, making sure that the wires are neatly arranged and not pinched. Use the screws provided with the timer switch to secure it to the electrical box. Replace the switch plate and tighten the screws to hold it in place.
Step 5: Set the Timer
Now comes the fun part - setting the timer. The process for setting the timer will vary depending on the type of timer switch you have. For mechanical timers, rotate the dial to set the desired on and off times. The dial is usually marked with hours and minutes, and you can align the pointers with the times you want the lights to turn on and off.
Digital timers typically have buttons or a keypad for setting the time, days of the week, and other settings. Refer to the manufacturer's instructions for specific steps, but generally, you'll need to set the current time first, then program the on and off times for each day or specific days of the week.
Smart timers can be set up using a smartphone app. Download the app associated with your timer switch, follow the app's instructions to connect the timer to your home Wi - Fi network, and then use the app to configure the timer settings. Some smart timers also support voice control through virtual assistants like Amazon Alexa or Google Assistant, allowing you to set and adjust the timer using voice commands.
Troubleshooting and Safety Tips
If the lights do not turn on or off as scheduled after setting up the timer switch, there are a few things you can check. First, make sure that the power is turned on at the circuit breaker. Check the connections to the timer switch to ensure that the wires are securely attached and that there are no loose connections. If you have a digital or smart timer, verify that the settings are correct and that the timer is functioning properly.
Always remember to follow electrical safety guidelines when working with timer light switches. Never work on electrical components while the power is on, and if you are unsure about any part of the installation process, it is best to consult a licensed electrician.
In conclusion, setting a timer light switch is a relatively straightforward process that can bring numerous benefits to your home. By following the steps outlined in this guide and taking the necessary safety precautions, you can enjoy the convenience, energy savings, and enhanced security that timer light switches offer.